Whimsical Graduation Cookie Pops
Highlighted under: Chocolate Treats Recipes
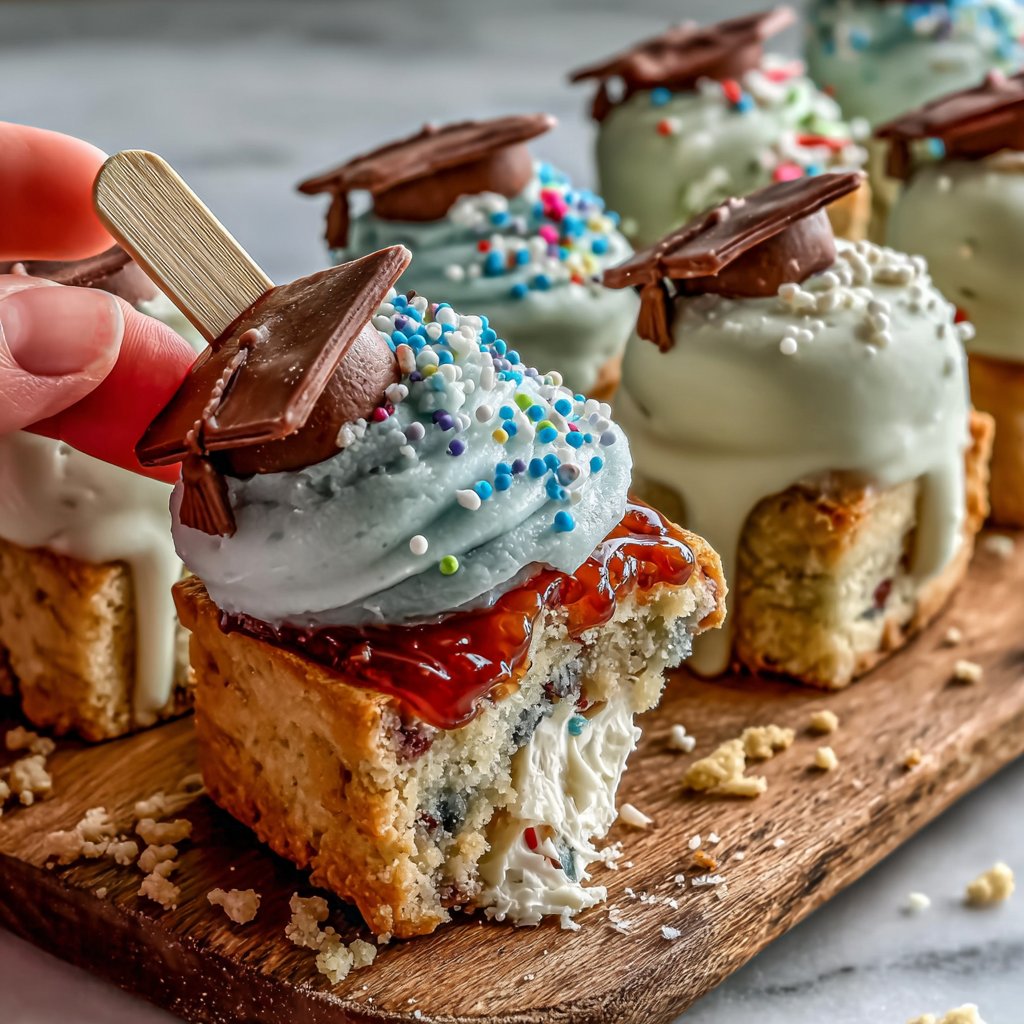
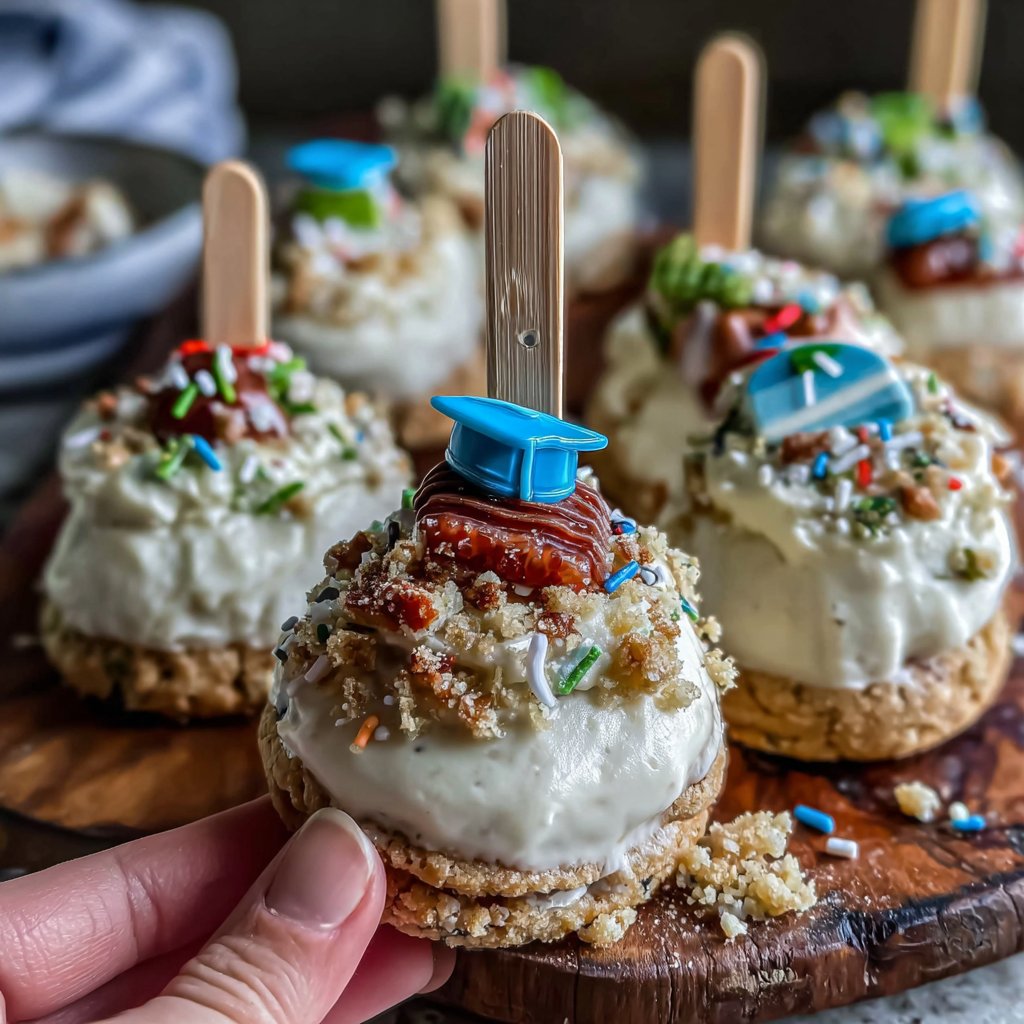
I love celebrating special milestones with creative treats, and these Whimsical Graduation Cookie Pops fit the bill perfectly! They’re not just any cookies; they’re adorned with vibrant royal icing and resemble little graduation caps that make any graduation party complete. It’s a fun project I enjoy doing with family and friends, and they are easier to make than you might think. With a delightful taste and a festive look, these cookie pops bring smiles and cheer to the celebration.
When I first made these Whimsical Graduation Cookie Pops, I wanted to create something that would truly stand out at the celebration. After several trials, I found that using a sturdy cookie dough recipe ensures that the pops maintain their shape while baking. I used a combination of butter and powdered sugar to achieve a soft yet firm texture, which is perfect for this design.
My favorite part of the process is decorating each cookie with royal icing. It’s incredible how just a few colors can transform simple cookies into delightful graduation caps. I’ve learned that a steady hand and a bit of patience go a long way, and the joy on everyone’s faces when they see these treats is absolutely priceless.
Why You'll Love These Cookie Pops
- Creative and cute design that adds fun to any graduation celebration
- Delicious balance of buttery sweetness and decorative flair
- Perfect for gifting or personalizing for each graduate
The Role of Ingredients
Each ingredient in these Whimsical Graduation Cookie Pops plays a vital role in achieving the perfect texture and flavor. The combination of all-purpose flour, baking powder, and salt forms the base of the cookies, providing structure. The unsalted butter adds richness and a buttery flavor, while powdered sugar sweetens the dough and helps create a tender crumb. For optimal results, don't skip the chilling step; it firms up the dough and makes cutting out shapes much easier without losing details.
Eggs are a crucial ingredient here; they provide moisture and help bind the dough together. Make sure to beat the egg well before adding it, as this incorporates air, which makes the cookies light. If you're looking for a vegan alternative, you could use a flax egg made by mixing one tablespoon of ground flaxseed with three tablespoons of water, allowing it to sit until it thickens. However, note that the texture may differ slightly from the traditional cookies.
Decorating Tips for Success
When preparing royal icing, achieving the right consistency is key. After beating the egg whites and gradually adding the powdered sugar, aim for a texture that holds a stiff peak but is still spreadable. If it’s too thick, add a little water, and if too runny, add more powdered sugar. When using the icing to decorate, I find it helpful to pipe around the edges first to create a barrier and then fill it in to prevent leaks.
For the decoration process, consider using a squeeze bottle for more control when applying the icing, especially for fine details. Experimenting with colors adds a personalized touch; mix yellow and black food coloring to create the classic graduation cap look. Remember to let each layer of icing dry completely before adding more decorations to avoid smudging, which can take about 2-3 hours depending on humidity.
Ingredients
For the Cookies
- 2 3/4 cups all-purpose flour
- 1 teaspoon baking powder
- 1/2 teaspoon salt
- 1 cup unsalted butter, softened
- 1 1/2 cups powdered sugar
- 1 egg
- 1 teaspoon vanilla extract
For the Royal Icing
- 3 egg whites
- 4 cups powdered sugar
- Food coloring (black, yellow)
- Lollipop sticks
Make sure all your ingredients are at room temperature for the best results.
Instructions
Prepare the Cookie Dough
In a bowl, mix the flour, baking powder, and salt. In another bowl, cream the butter and powdered sugar until light. Add the egg and vanilla, then gradually mix in the flour mixture. Chill the dough for about 20 minutes.
Cut Out Cookies
Preheat the oven to 350°F (175°C). Roll out the chilled dough to 1/4-inch thickness. Use a graduation cap-shaped cookie cutter to cut out cookies. Place on baking sheets lined with parchment paper.
Bake the Cookies
Bake in the preheated oven for 12-15 minutes or until lightly golden. Let them cool completely.
Make Royal Icing
In a mixing bowl, beat the egg whites until frothy. Gradually add powdered sugar, beating until stiff peaks form. Divide icing into bowls and color as desired.
Decorate Cookies
Dip the tops of cooled cookies in royal icing or pipe it on. Add lollipop sticks to the base while the icing is still wet to secure.
Dry and Serve
Let the decorated cookie pops dry for several hours. Once set, arrange them in a decorative container for display.
For best results, allow the royal icing to dry completely before handling.
Pro Tips
- Experiment with different colors and designs to personalize your cookies for each graduate.
Storage and Make-Ahead Tips
These cookie pops can be made ahead of time, which is perfect for busy schedules around graduation season. Once your cookie pops are decorated and have dried, store them in an airtight container at room temperature for up to a week. If you wish to keep them longer, you can freeze the undecorated cookies. Simply place them in a single layer on a baking sheet, freeze until solid, then transfer them to a zip-top freezer bag, where they can last for up to three months.
When you're ready to use the frozen cookies, simply thaw them at room temperature before decorating. Keep in mind that you should only freeze the cookies before icing them; once decorated, the moisture can affect the structural integrity of the royal icing.
Variations to Try
Feel free to get creative with your cookie pops! While the graduation cap design is charming, you could also make other fun shapes, like diplomas or even the graduates' initials. Simply use a different cookie cutter and adjust the icing colors accordingly to match the graduation theme or the school colors of the graduates.
For an added flavor twist, you might consider infusing the cookie dough with flavors such as almond or lemon extract in place of vanilla. This not only enhances the taste but can also make your cookie pops a standout treat at any gathering. Variations in texture can also be achieved by rolling the cookies in sprinkles before they bake for a delightful crunch.
Questions About Recipes
→ Can I make these cookie pops in advance?
Yes, you can bake and decorate the cookies up to a week in advance. Store them in an airtight container.
→ Can I use store-bought icing?
Absolutely! Store-bought icing can be a great time-saver, though homemade royal icing offers a unique texture and finish.
→ What if I don't have a graduation cap cookie cutter?
You can use a round cutter for the cap top and a rectangular cutter for the cap base, or create your own custom shape.
→ How do I store leftover cookies?
Keep leftover cookie pops in an airtight container at room temperature for up to five days.
Whimsical Graduation Cookie Pops
Created by: The Chefromankitchen Team
Recipe Type: Chocolate Treats Recipes
Skill Level: Intermediate
Final Quantity: 24 pops
What You'll Need
For the Cookies
- 2 3/4 cups all-purpose flour
- 1 teaspoon baking powder
- 1/2 teaspoon salt
- 1 cup unsalted butter, softened
- 1 1/2 cups powdered sugar
- 1 egg
- 1 teaspoon vanilla extract
For the Royal Icing
- 3 egg whites
- 4 cups powdered sugar
- Food coloring (black, yellow)
- Lollipop sticks
How-To Steps
In a bowl, mix the flour, baking powder, and salt. In another bowl, cream the butter and powdered sugar until light. Add the egg and vanilla, then gradually mix in the flour mixture. Chill the dough for about 20 minutes.
Preheat the oven to 350°F (175°C). Roll out the chilled dough to 1/4-inch thickness. Use a graduation cap-shaped cookie cutter to cut out cookies. Place on baking sheets lined with parchment paper.
Bake in the preheated oven for 12-15 minutes or until lightly golden. Let them cool completely.
In a mixing bowl, beat the egg whites until frothy. Gradually add powdered sugar, beating until stiff peaks form. Divide icing into bowls and color as desired.
Dip the tops of cooled cookies in royal icing or pipe it on. Add lollipop sticks to the base while the icing is still wet to secure.
Let the decorated cookie pops dry for several hours. Once set, arrange them in a decorative container for display.
Extra Tips
- Experiment with different colors and designs to personalize your cookies for each graduate.
Nutritional Breakdown (Per Serving)
- Calories: 150 kcal
- Total Fat: 6g
- Saturated Fat: 4g
- Cholesterol: 30mg
- Sodium: 70mg
- Total Carbohydrates: 23g
- Dietary Fiber: 0g
- Sugars: 12g
- Protein: 1g